Framer Ecommerce Kit: Free Templates, Plugins and Store Components
Build a Framer ecommerce store with free plugins, templates, and store components. Connect WooCommerce, Stripe, Razorpay, or Shopify without code.

TL;DR
- Framer is excellent at design and terrible at nothing in particular, but it does not ship with a native store, which is why most designers get stuck at the checkout step.
- The FeCommerce kit is a set of free Framer plugins, templates, and components that add product listings, product pages, variant selectors, carts, and checkout to a Framer site.
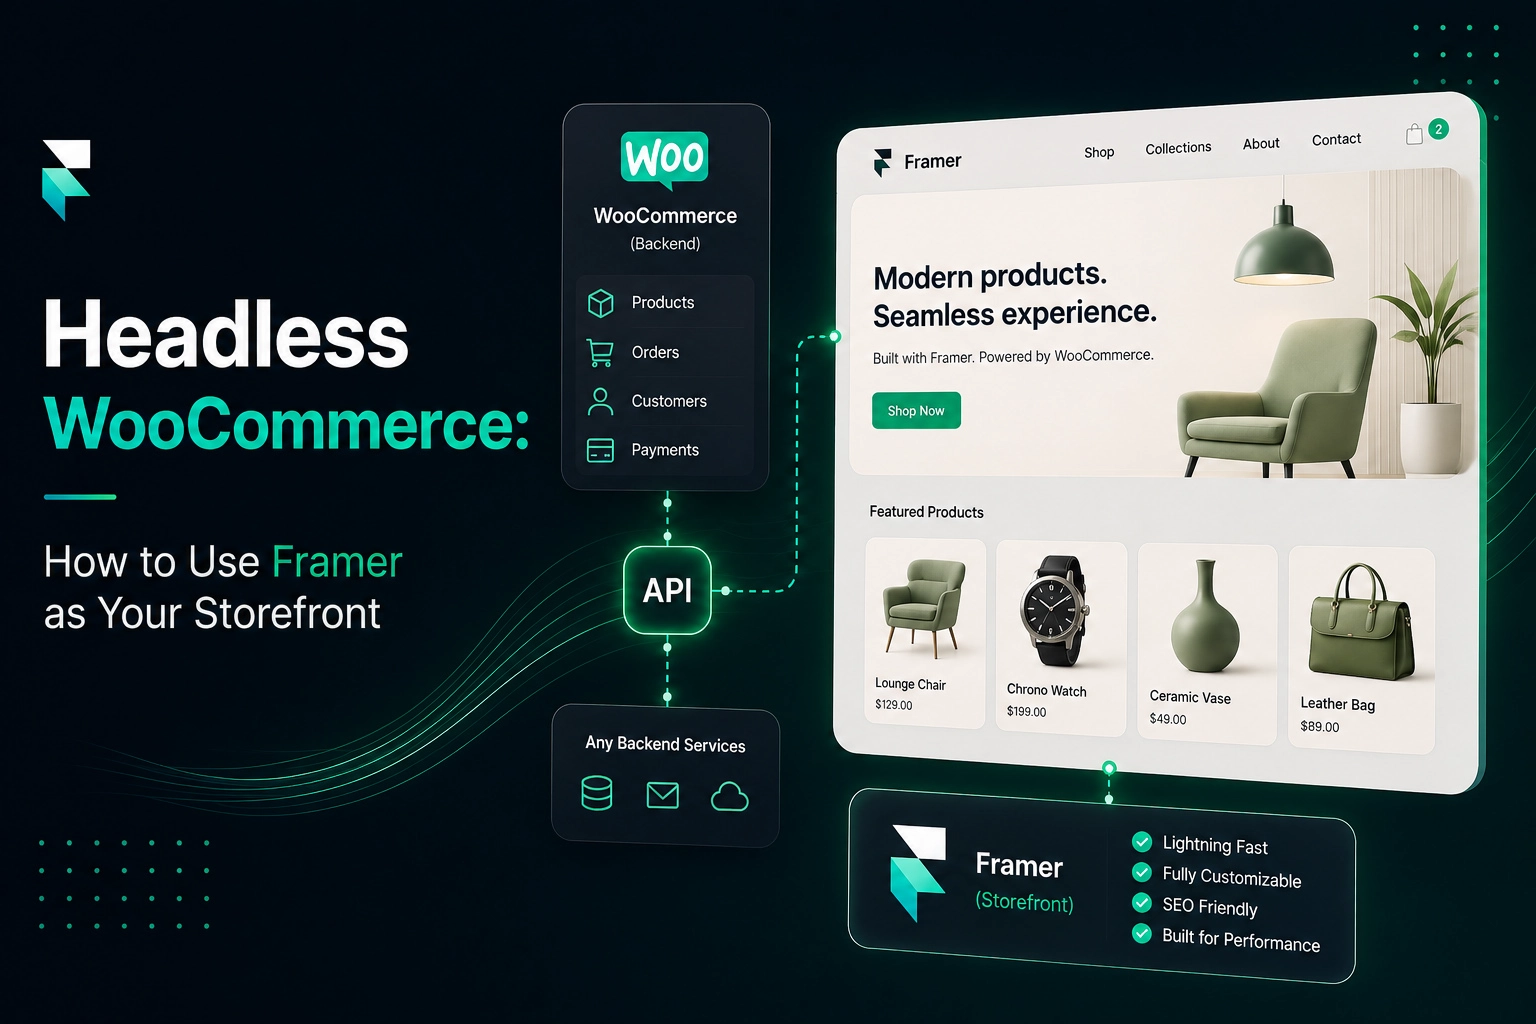
- You can sync a WooCommerce catalog into Framer CMS or pull it live over the API, so your existing store data becomes the source of truth.
- Payments are handled through StripeKit or RazorpayKit, and Shopify Connect lets you build a custom storefront on top of a Shopify backend.
- Free Framer ecommerce templates like Fe Advaita and Fe Luxe give you a full store layout to start from instead of a blank canvas.
- Everything in the plugin suite is free, as are most templates and components. A few premium ones, like the Shopify-powered Fe Skiniora template, are one-time purchases, and Studio is a done-for-you store build and WooCommerce migration.
The gap every Framer designer hits around week two
You pitch a client on Framer. The design comes together fast, the animations feel expensive, the site scores well on speed, and everyone is happy. Then the client asks a simple question: where do people actually buy the thing?
That is the moment most Framer projects quietly turn into Shopify projects. Not because Shopify is better, but because Framer, on its own, does not ship with a cart. So the design work you just did gets flattened into a theme, and the client pays a monthly fee for a store they never wanted to move to.
There is a middle path. Framer ecommerce is entirely workable if you treat Framer as the storefront and something else as the commerce engine. Your catalog, orders, taxes, and inventory live in WooCommerce or Shopify. Your design, layout, and buying experience live in Framer. The two talk to each other through plugins and components, and you never touch a line of code.
That is exactly what the FeCommerce kit does. This guide walks through what is in it, how the pieces fit together, and how to get a working store live.
What is in the Framer ecommerce kit
The kit is not one plugin. It is a suite of free tools that each solve one part of the store, so you install only what your build actually needs.
Catalog and store logic
- FeCommerce syncs a WooCommerce catalog into Framer CMS, or pulls it live via API. It ships with product listing, product page, variant selector, cart, and checkout components.
- Shopify Connect does the equivalent job for Shopify merchants, letting you build a fully custom storefront inside Framer on top of a Shopify backend.
Payments and checkout
- StripeKit brings Stripe payments into Framer, including a drag-and-drop Buy Now checkout for single-product and digital sales.
- RazorpayKit handles Razorpay checkout with UPI, cards, and Payment Link sync, which matters if you are selling into India.
Everything around the store
- SEO Toolkit gives you a live SEO score, an on-canvas analyzer, schema, and Lighthouse audits without leaving the Framer editor.
- Calendly Booking adds native scheduling widgets for service businesses and hybrid product-plus-consultation models.
Framer ecommerce templates and components
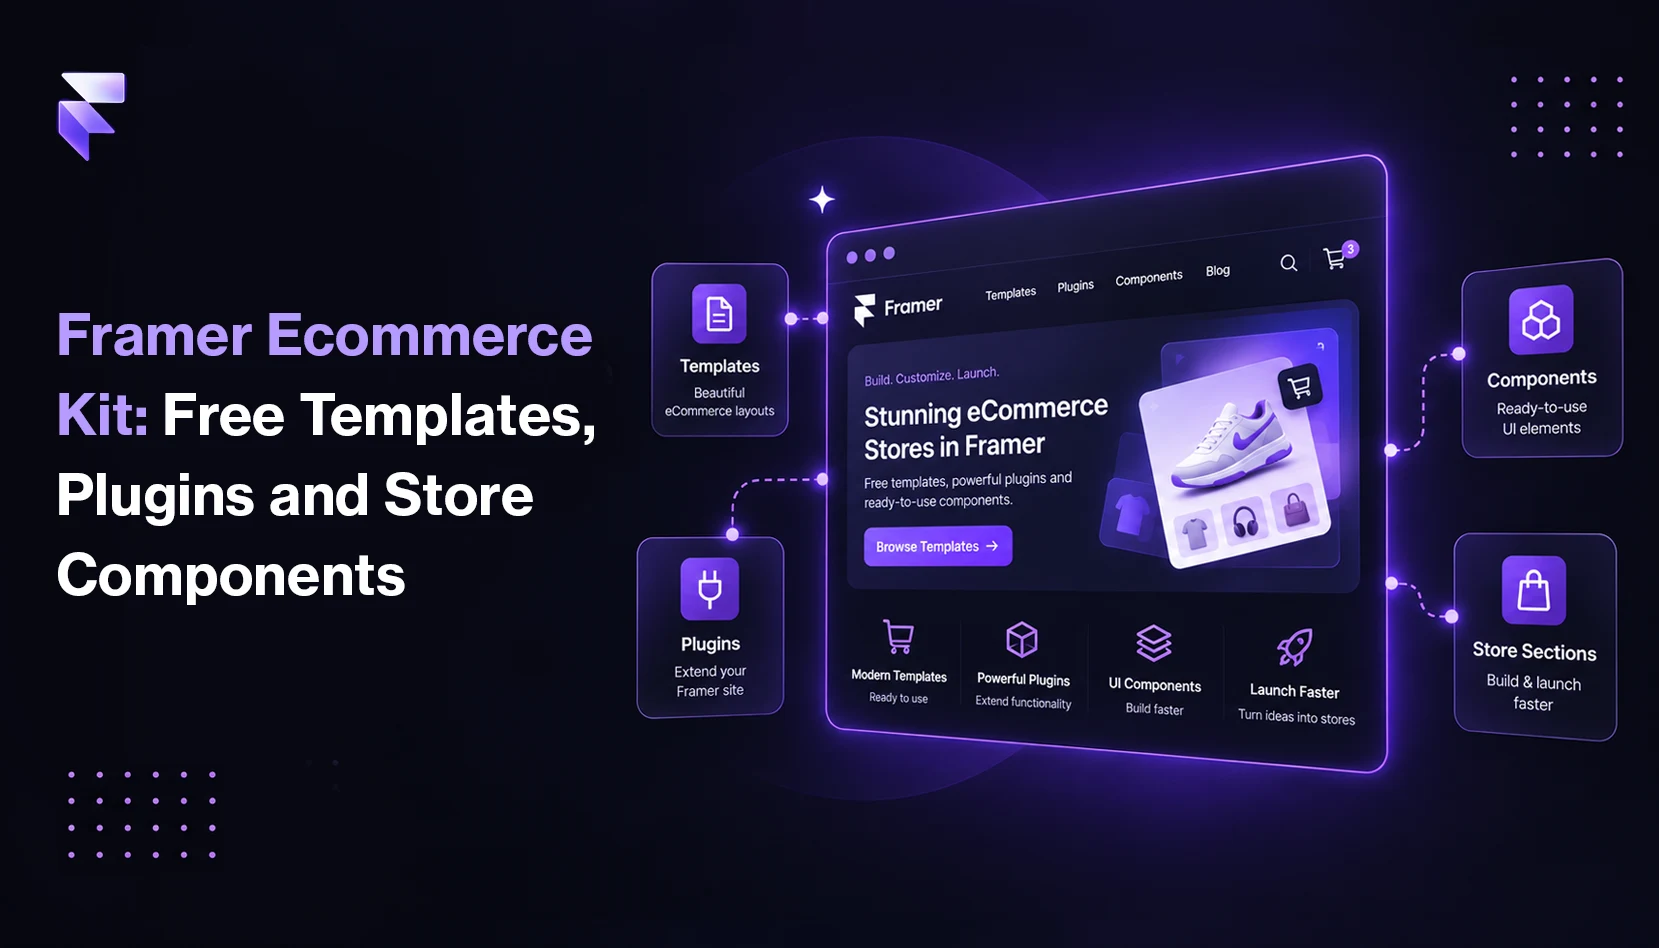
- Fe Advaita and Fe Luxe are full store templates you can start from.
- Fe Mega Nav, Fe Hover Preview, Fe Herospot, and Fe MissionaryGallery are components that cover the parts of a store people usually rebuild from scratch.
Every plugin listed above is free. You can browse the full set on the FeCommerce products page.
Why headless WooCommerce works well with Framer
Pointing Framer at WooCommerce sounds exotic, but it is one of the more boring architectures you can choose, which is a compliment.
WooCommerce already handles the unglamorous work: order records, tax rules, stock counts, refunds, shipping zones, and the plugin ecosystem your client's accountant probably depends on. None of that benefits from being redesigned. What does benefit from being redesigned is the part customers see.
The upside of splitting them:
- You keep your existing store data. Migrating a catalog is where most replatforming projects die. Syncing it instead means nothing breaks.
- The front end is fully yours. No theme constraints, no fighting a page builder, no "close enough" layouts.
- Framer's performance holds up. This matters more than it sounds. Google's Core Web Vitals documentation ties page experience signals directly to how pages are assessed in search, and Baymard Institute's checkout research has consistently found that friction in the buying flow drives a large share of abandoned carts.
- You can change the storefront without touching the backend. Redesign the product page on a Tuesday, ship it, and the order pipeline never notices.
The tradeoff is honest: you are managing two systems instead of one. For most design-led brands, that is worth it. For someone who wants a single dashboard and no thinking, it is not.
How to set up a Framer ecommerce store, step by step
Here is the practical version. Budget an afternoon for a first build, less once you have done it before.
Step 1: Install the plugin
Open your Framer project, go to the plugin menu, and install FeCommerce from the FeCommerce Framer Marketplace listing. Installation is the same as any other Framer plugin, so there is no setup wizard to fight.
Step 2: Connect your store
Install the free FeCommerce Bridge for WooCommerce plugin on your WordPress site. Then open FeCommerce in Framer and click Connect store to get a short code. In WordPress, go to WooCommerce → FeCommerce, enter the code and click Approve, then confirm your store in Framer. No API keys or passwords to copy around.
Step 3: Choose sync or live
You have two options, and the right one depends on the store:
- Sync to Framer CMS. Products become CMS items. Best for catalogs that do not change hourly, and it gives you Framer's CMS tools for filtering, sorting, and design overrides.
- Pull live via API. Product data is fetched at request time. Better when stock levels and prices move constantly.
Step 4: Drop in the components
This is the part that feels like cheating. Drag the product listing component onto your collection page, the product page component onto a CMS detail page, and add the variant selector, cart, and checkout components where they belong. Then restyle them to match the design. You are laying out a store, not building one.
Step 5: Wire up payments
Add StripeKit for Stripe, or RazorpayKit if your customers pay by UPI or need Payment Links. For a single product or a digital download, the drag-and-drop Buy Now checkout in StripeKit is often all you need, and you can skip the full cart flow entirely.
Step 6: Run the SEO pass before you launch
Install the SEO Toolkit and use the on-canvas analyzer on your product pages. Check the live score, add schema, and run a Lighthouse audit while you are still in the editor. Doing this before launch is significantly less painful than doing it after a client asks why nothing ranks.
Step 7: Start from a template if you want speed
If you would rather not build the layout, start with Fe Advaita or Fe Luxe. Both are free Framer ecommerce templates with the store structure already in place, so your first afternoon goes into brand and content rather than page architecture.
Full setup details for each plugin live in the FeCommerce documentation.
Choosing the right ecommerce Framer template and stack
A quick decision guide, since the kit gives you more options than most projects need.
Pick FeCommerce with WooCommerce if:
- The client already runs WooCommerce and does not want to migrate
- The catalog is large or has real variant complexity
- You need the WordPress plugin ecosystem behind the scenes
Pick Shopify Connect if:
- The client is committed to Shopify's backend and operations
- You want Shopify's fulfillment and reporting with a custom front end
Pick StripeKit alone if:
- You are selling one product, a digital download, or a course
- A full catalog is overkill and you just need a Buy button that works
Pick RazorpayKit if:
- You are selling into India and UPI is not optional
- You need Payment Link sync for offline or social selling
Pick a template if:
- You need to show a client something buyable this week
- You would rather spend your time on brand than on grid layouts
Most designers end up mixing these. A WooCommerce-backed Framer store with StripeKit handling a separate digital product line is a very common shape.
Practical notes from real builds
A few things worth knowing before you start.
Design the product page first, not the homepage. The product page is where the money happens and where the most component work lives. Homepages are easy once the hard page is solved.
Decide your source of truth early. If WooCommerce owns product data, do not start editing prices in Framer CMS. Pick one place and stay there.
Keep the checkout boring. This is the one screen where creativity costs money. Clear labels, visible totals, obvious buttons.
Do not skip schema. Product schema on product pages is one of the highest-leverage SEO items in ecommerce, and the SEO Toolkit handles it inside Framer.
Test on a phone before you show the client. Everything looks correct on a 27-inch display. Carts do not.
FAQs
1) How do you connect WooCommerce to Framer?
Install the FeCommerce plugin in Framer and the free FeCommerce Bridge plugin in WordPress, approve the short code to connect your store, then choose to sync your catalog into Framer CMS or pull it live via API. Drag in the product, cart, and checkout components. No code needed.
2) Is it secure to connect your store to Framer?
Yes. The connection uses WooCommerce API credentials you control and can revoke anytime. Payments run on Stripe or Razorpay infrastructure through StripeKit and RazorpayKit, so card and UPI details are never stored in your Framer project.
3) How long does it take to set up a Framer store?
Starting from a free template like Fe Advaita or Fe Luxe, a connected catalog and working checkout takes about an afternoon. A fully custom design with a large catalog, complex variants, and a full SEO pass usually takes a few days.
4) Is Framer SEO-friendly for product pages?
Yes. Framer gives you control over titles, meta descriptions, slugs, headings, and alt text, and it loads fast. The SEO Toolkit adds product schema, a live SEO score, an on-canvas analyzer, and Lighthouse audits inside the editor.